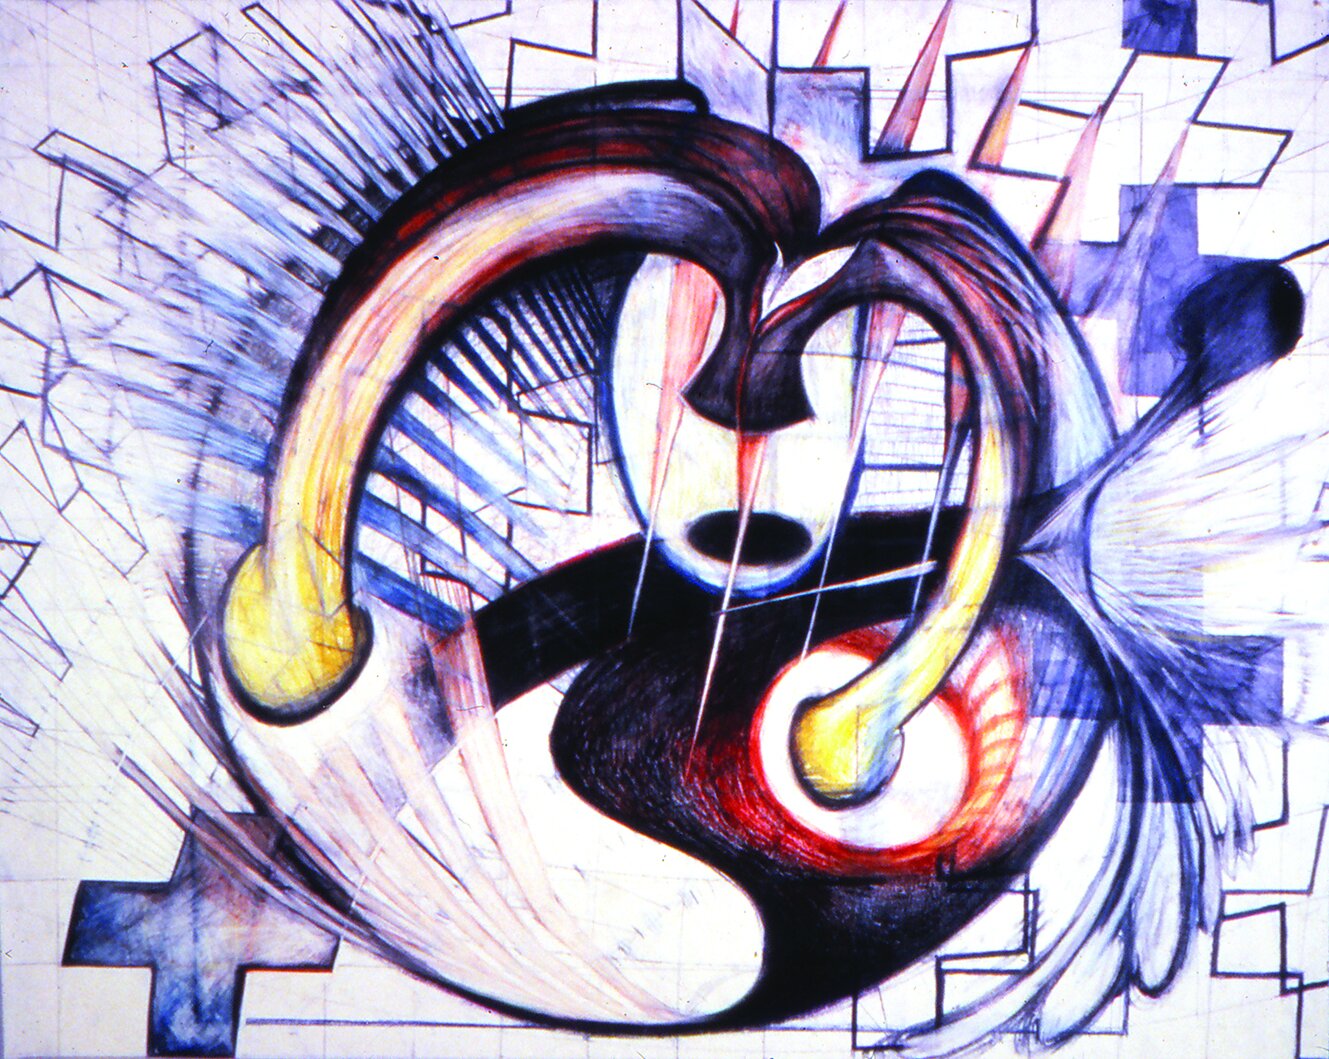
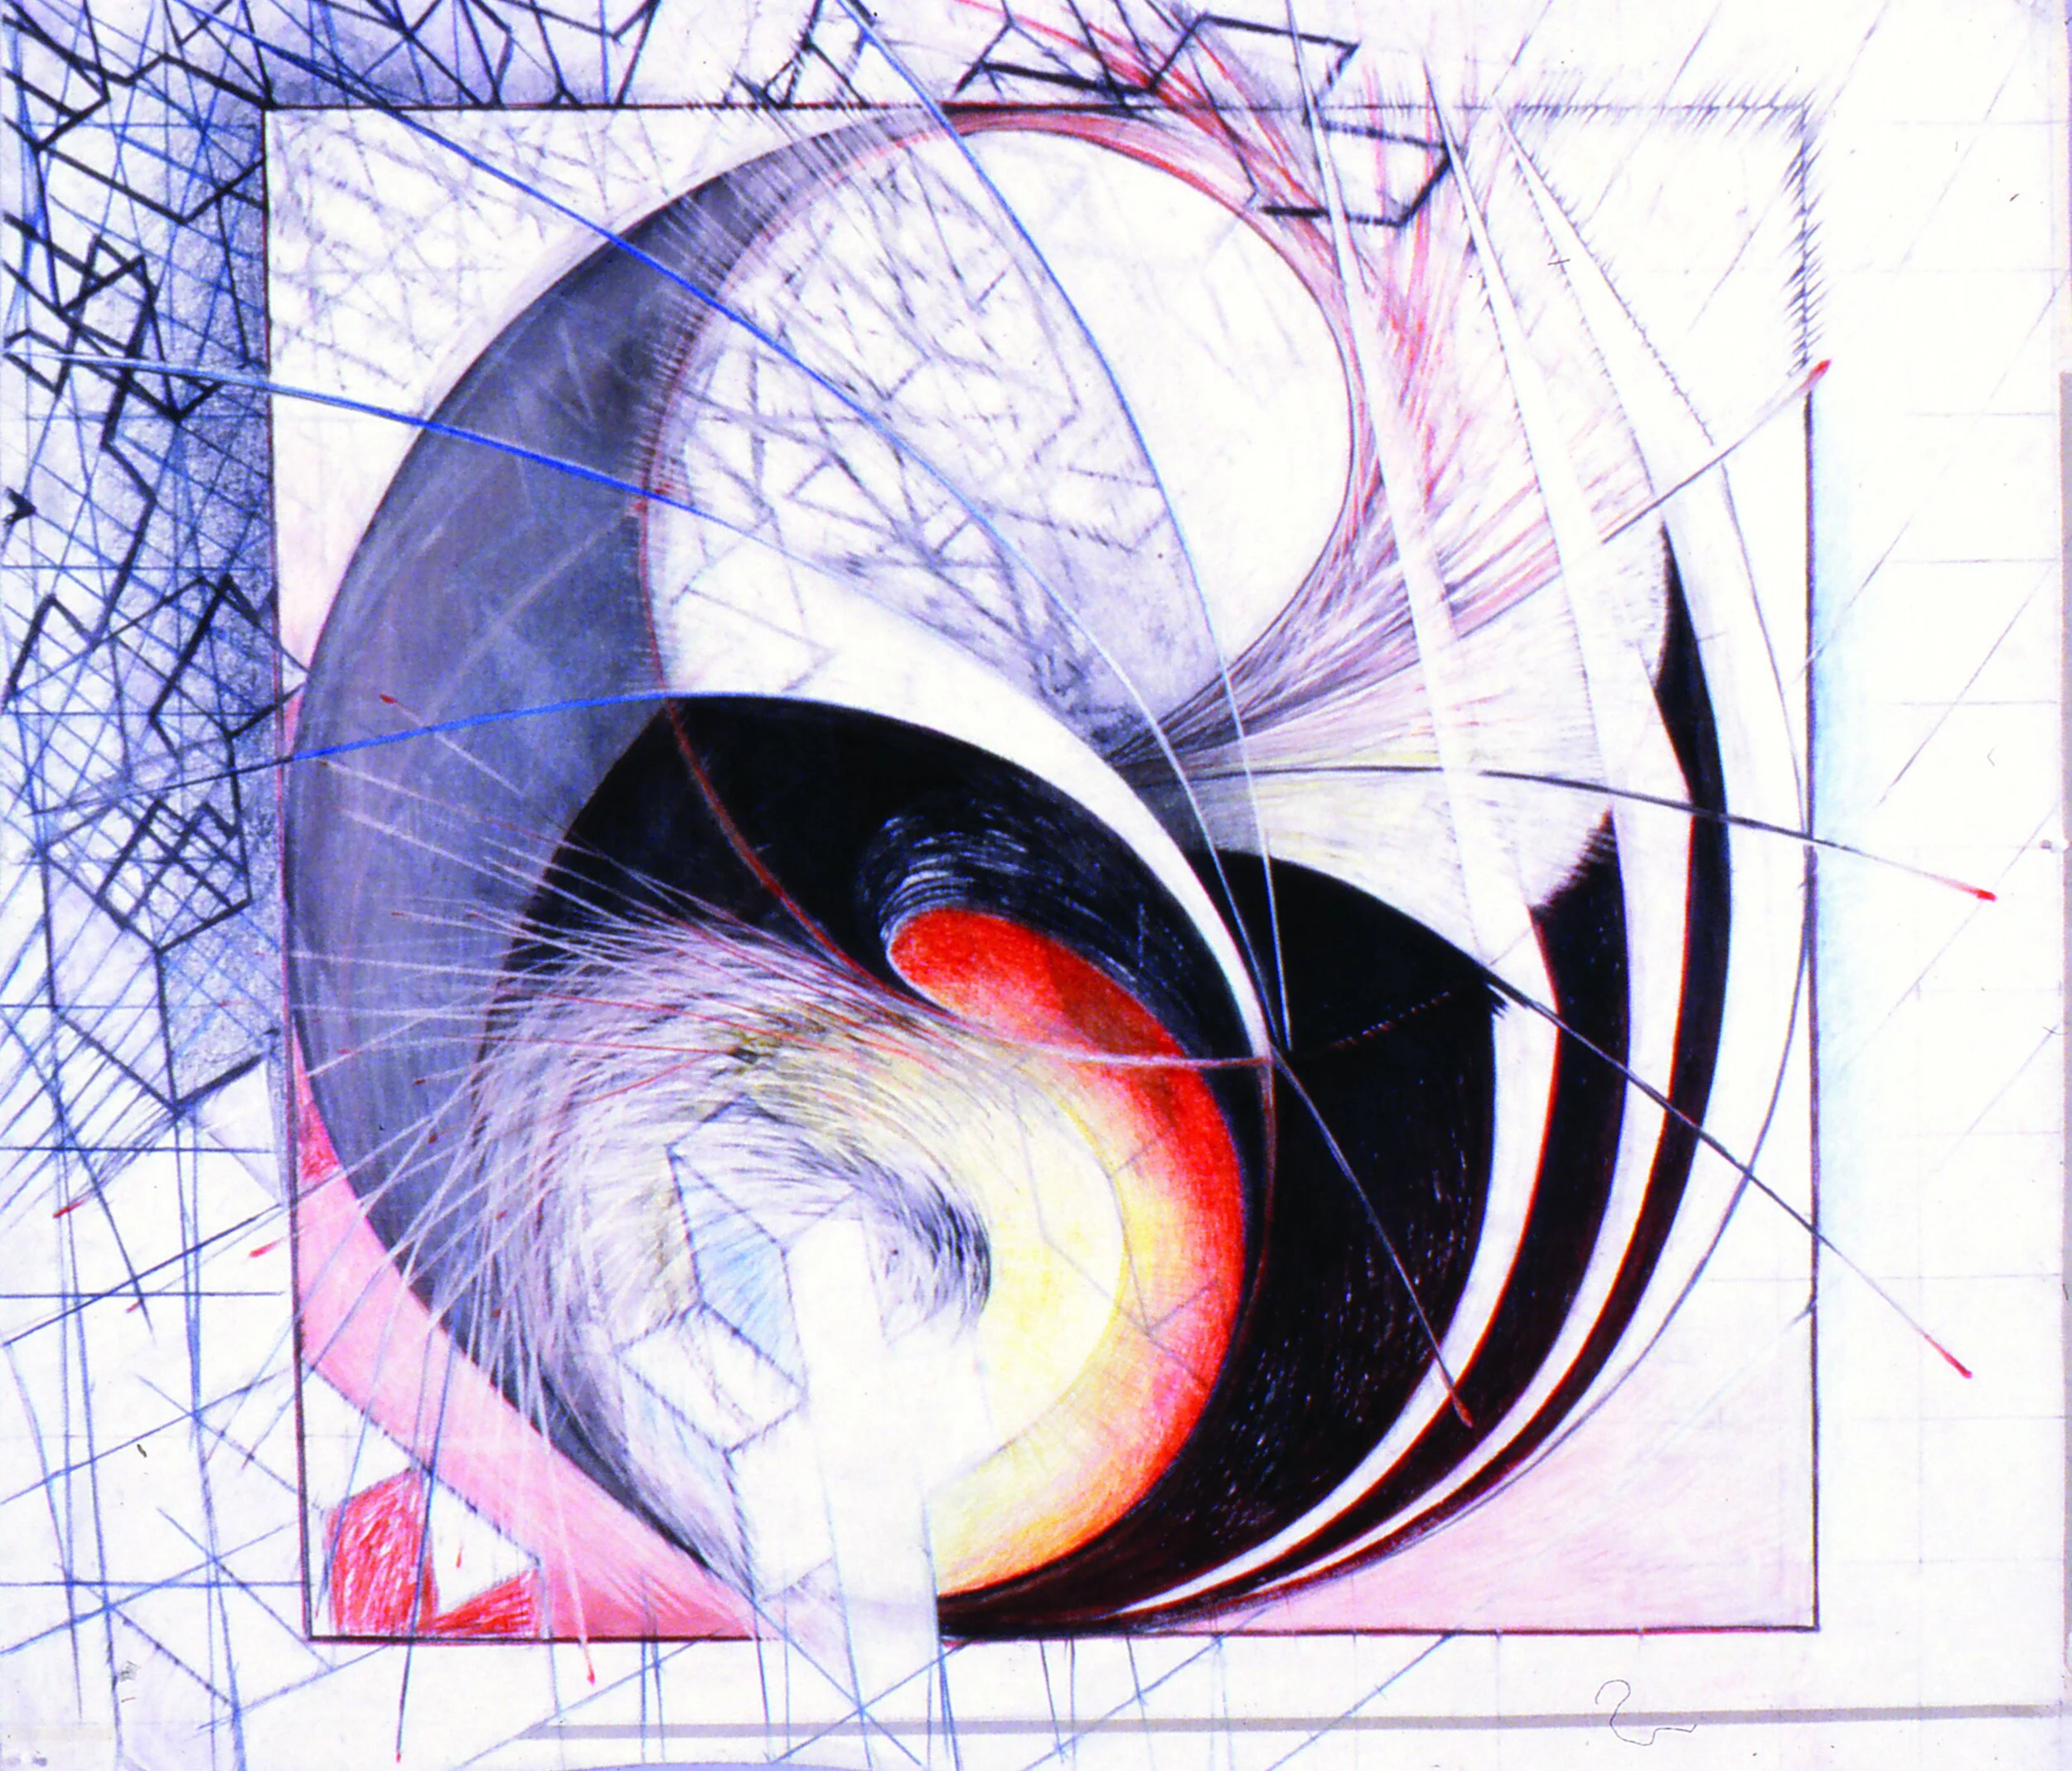
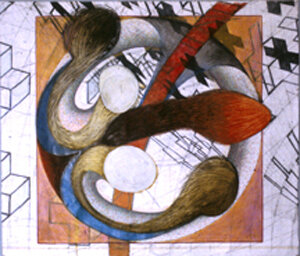
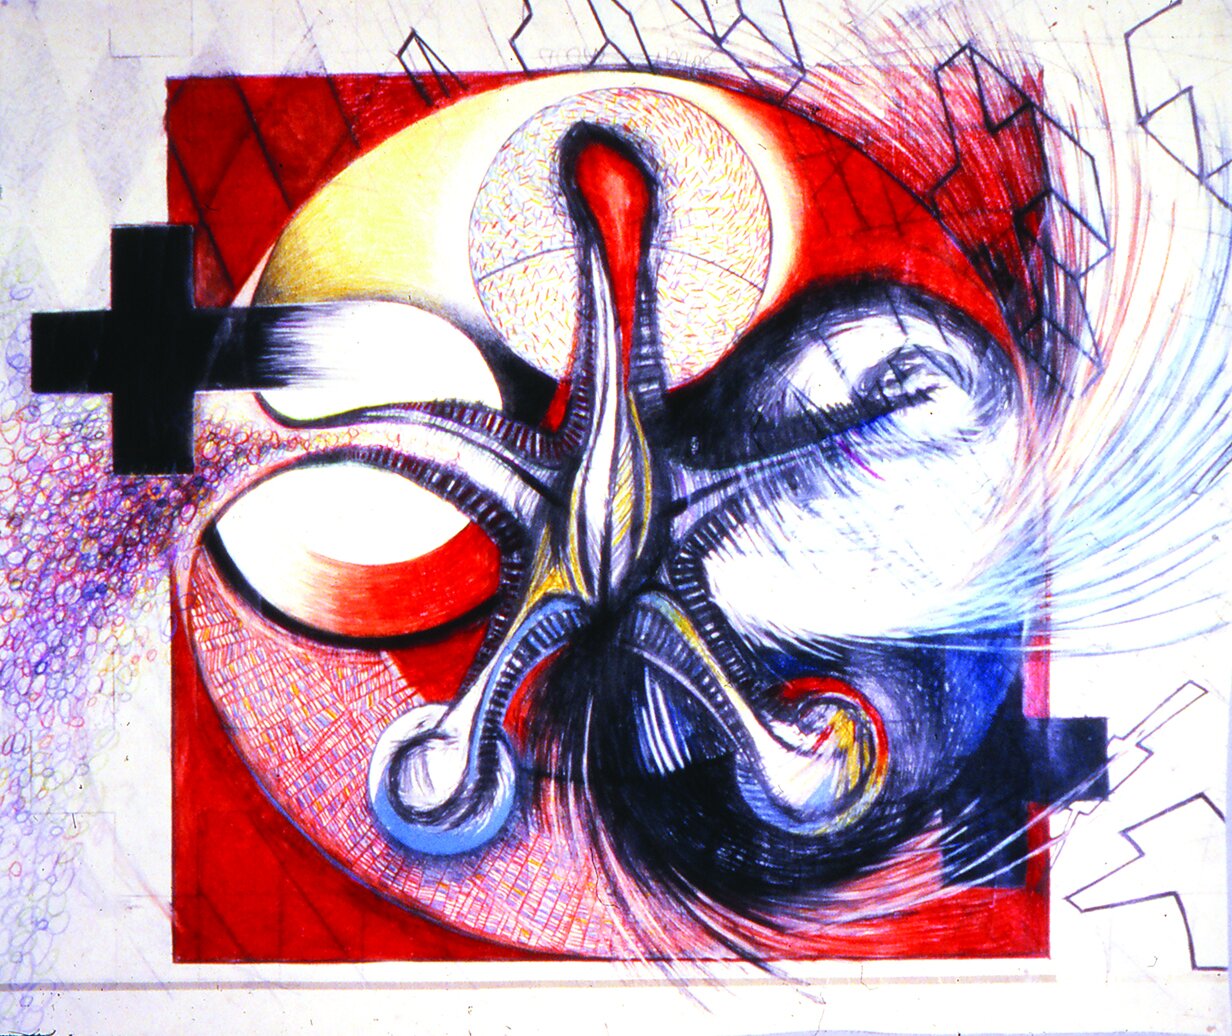
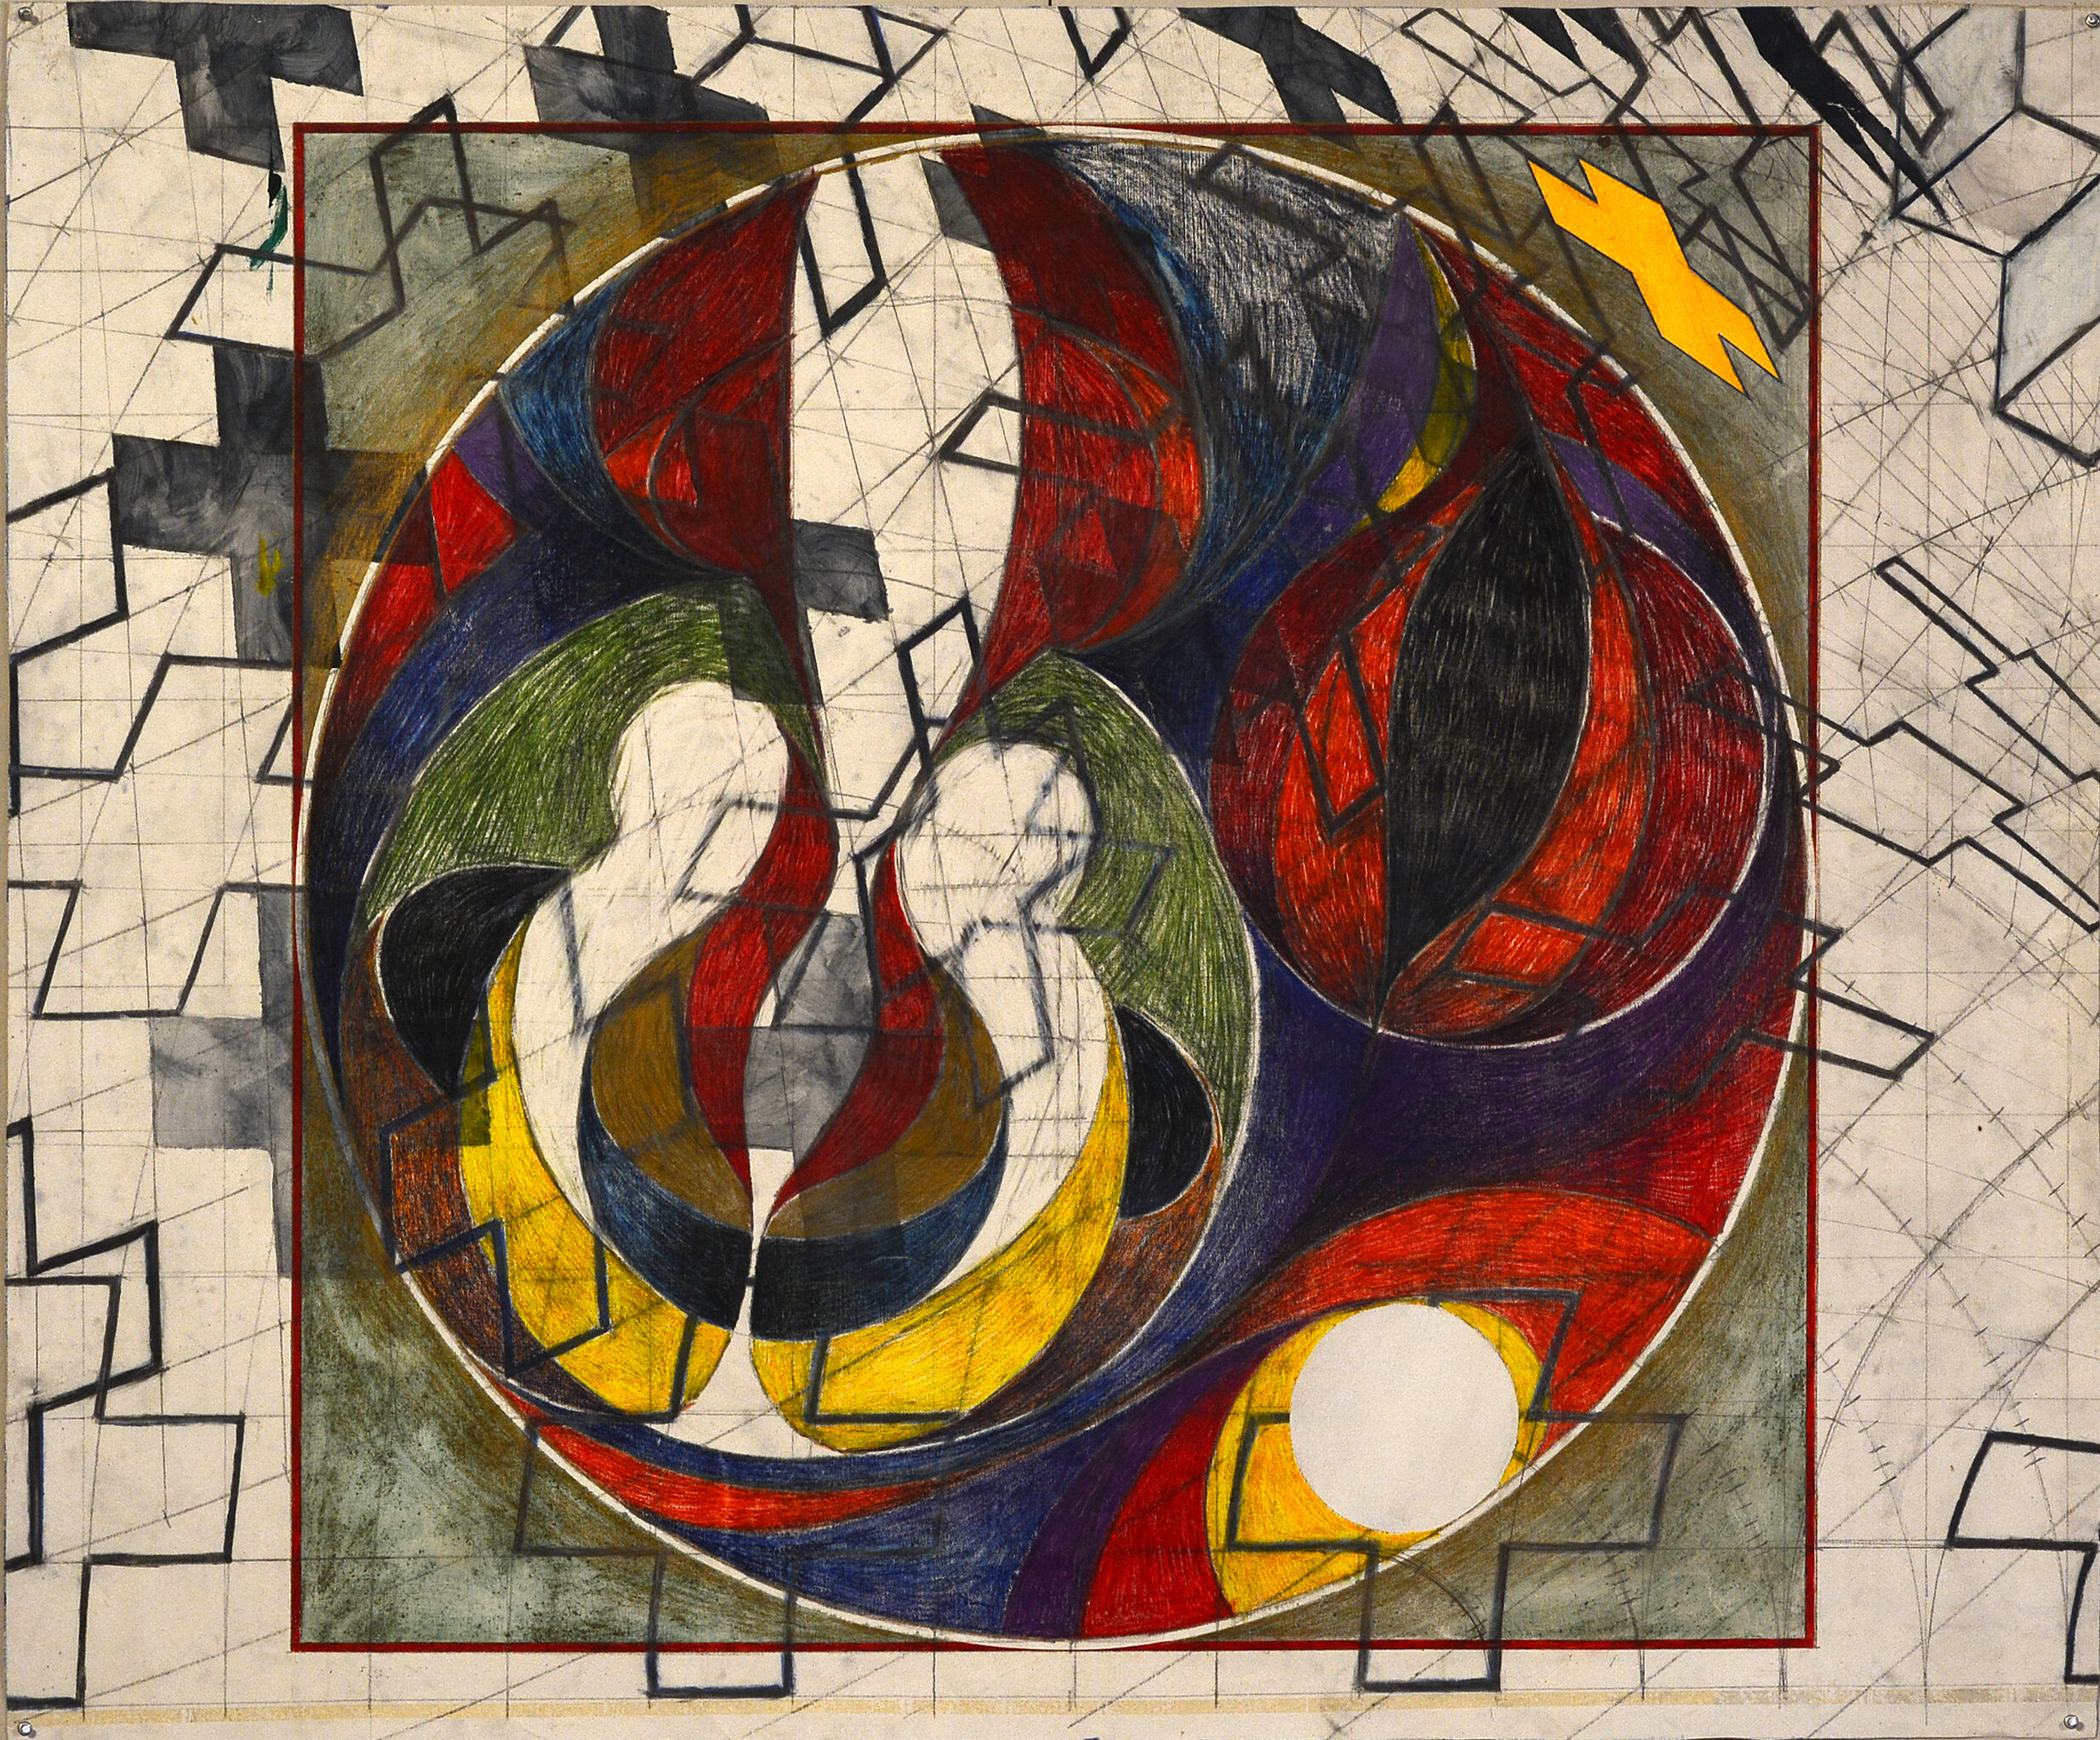
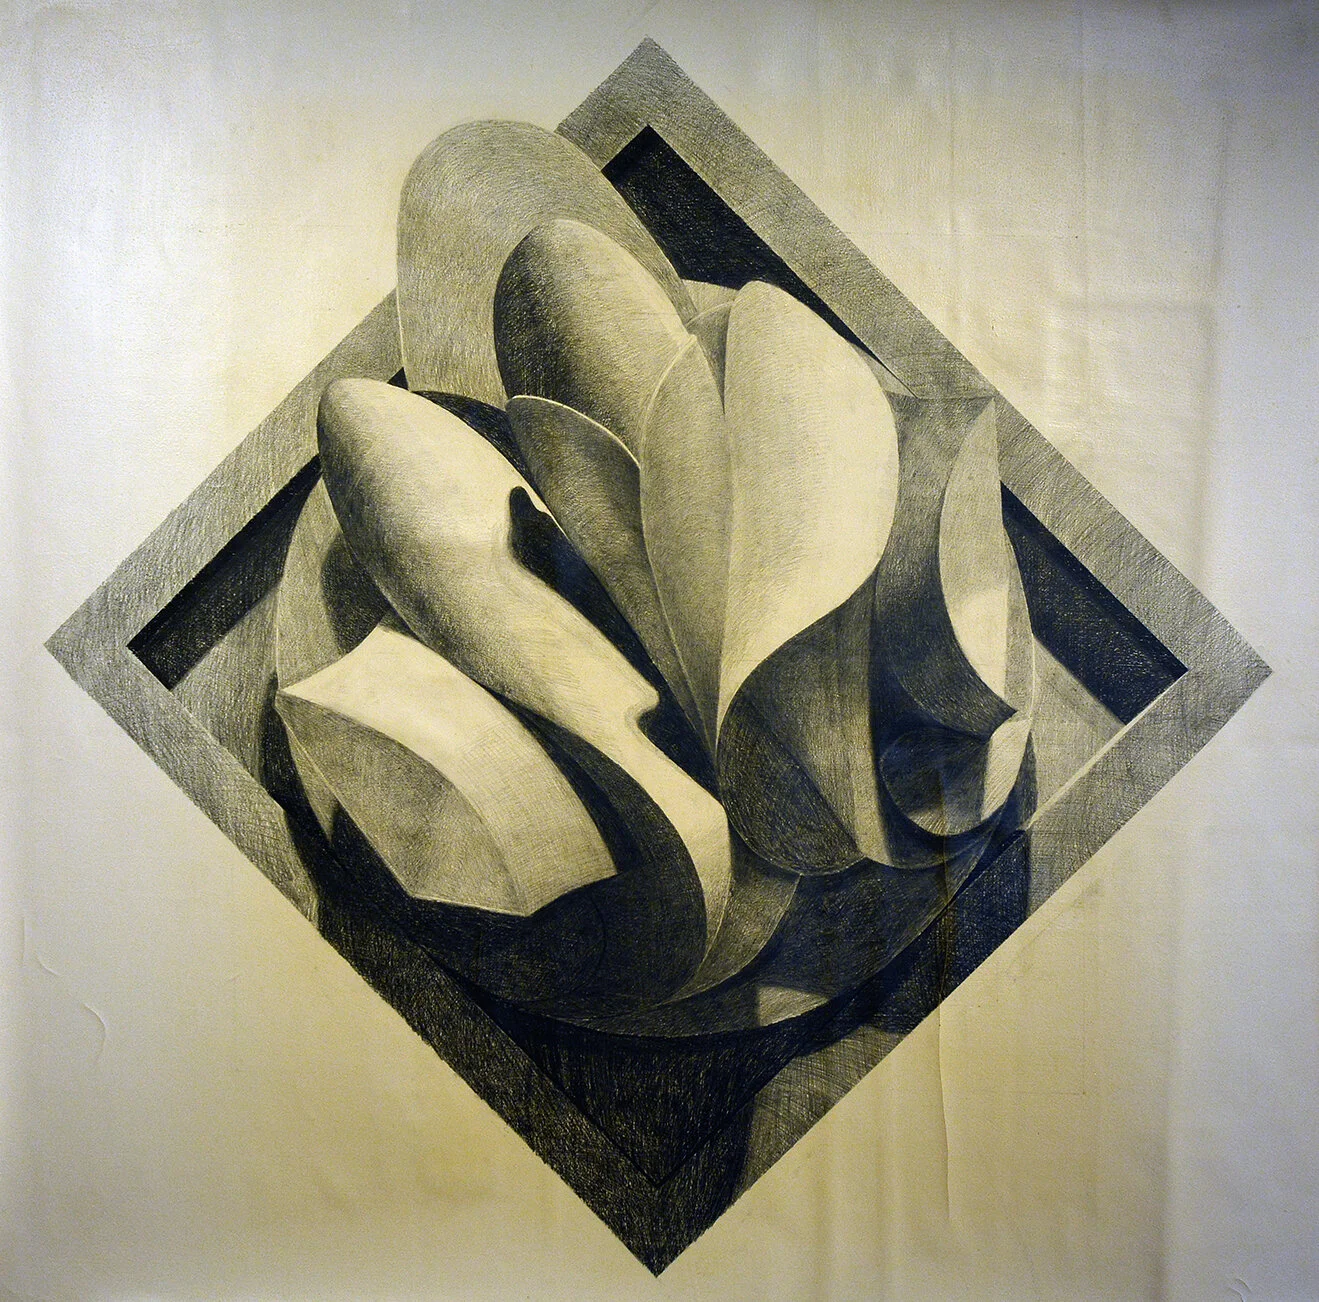
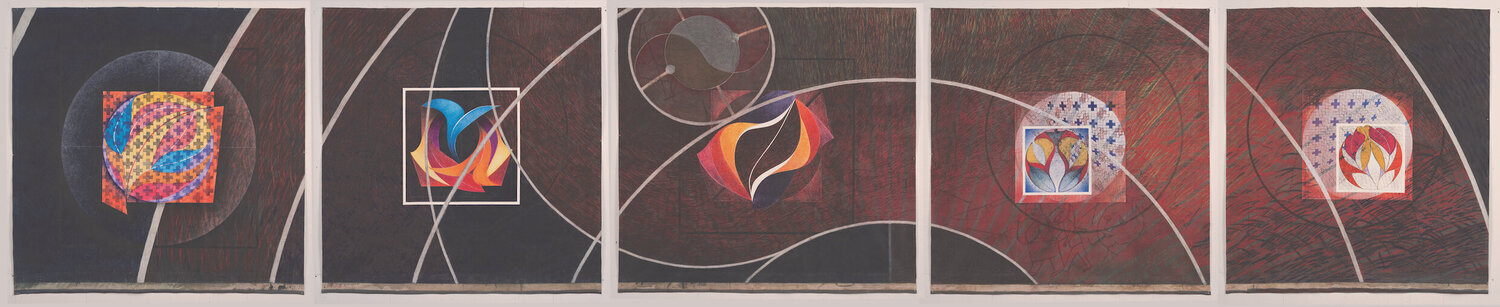
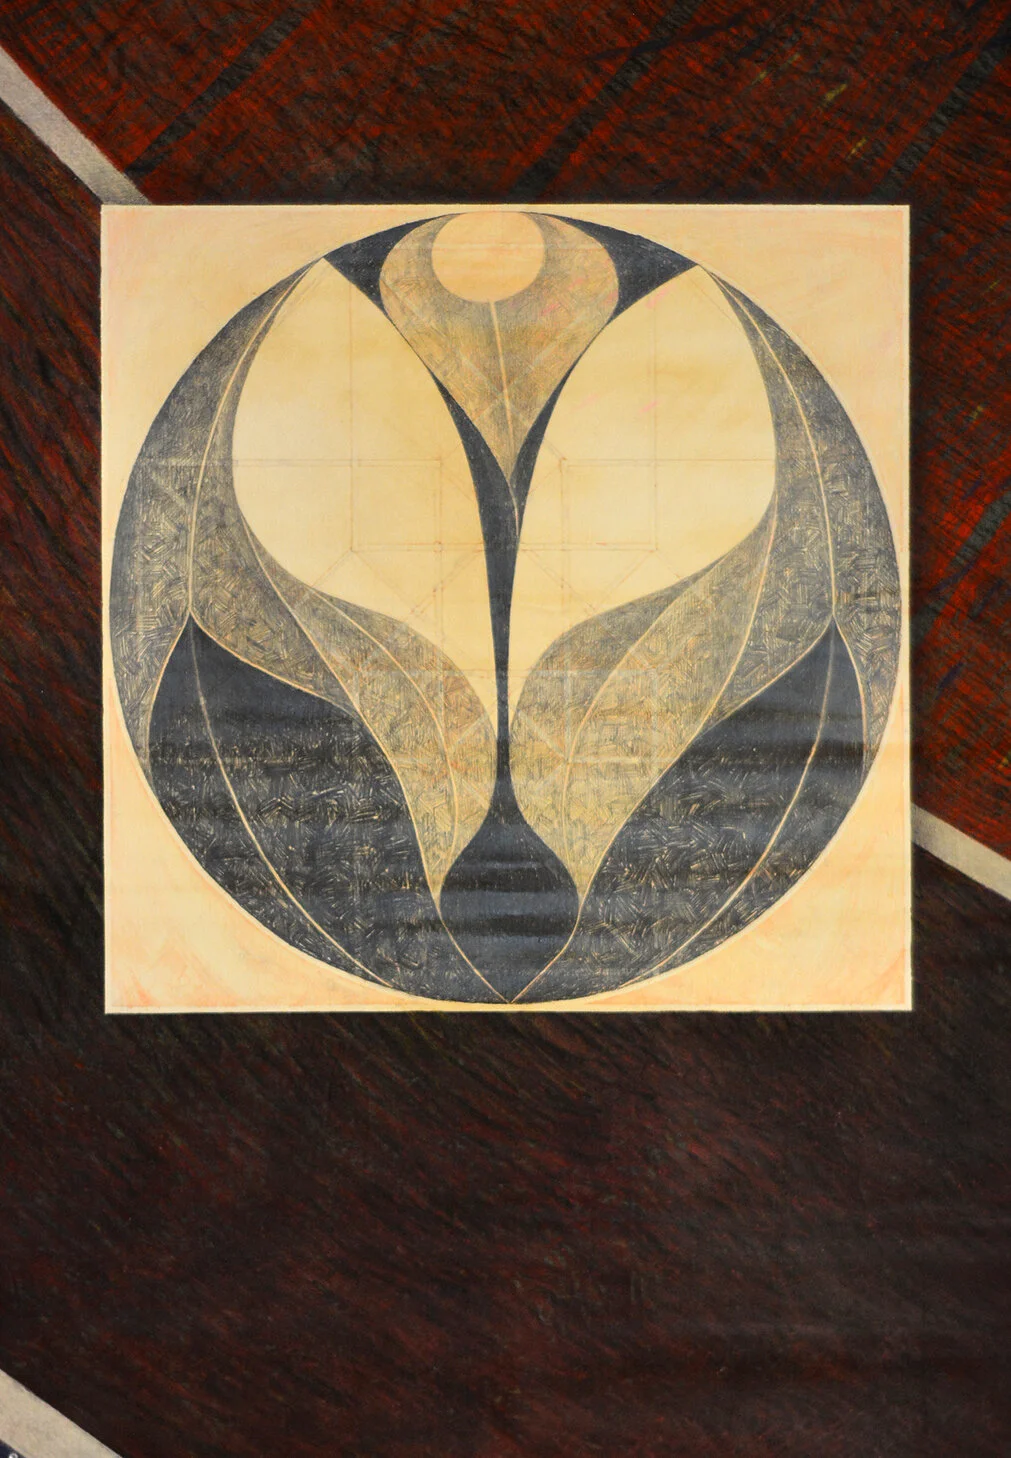
Neuralchemists "Music expresses that which cannot be said and on which it is impossible to be silent." —Victor Hugo View fullsize Dynamism (Fish and Snake) View fullsize Proto-Dynamism # 1 View fullsize Proto-Dynamism # 2 View fullsize Proto-Dynamism # 3 View fullsize Proto-Dynamism # 4 View fullsize Proto-Dynamism # 5 View fullsize Dynamism # 2 View fullsize Dynamism # 3 View fullsize Dynamism # 4 View fullsize Dynamism # 5 View fullsize Dynamism # 6 View fullsize Dynamism # 7 View fullsize Dynamism # 8 View fullsize Dynamism # 9 View fullsize Dynamism Variation Study View fullsize Dynamism Variation View fullsize Dynamis 1 View fullsize Dynamis 2 View fullsize The Apollonian Triptych View fullsize I Am The Phoenix Study View fullsize I Am The Phoenix View fullsize The Conception View fullsize Joy of My Desires View fullsize The Death and Ecstasy of St. Theresa View fullsize Black and White Study for Georgia O'Keefe View fullsize Black and White Study for Georgia O'Keefe (Left Panel of Willendorf Triptych) View fullsize Georgia O'Keefe (Left Panel of Willendorf Triptych) View fullsize Black and White Venus of Willendorf Study View fullsize Venus of Willendorf (Center Panel of Willendorf Triptych) View fullsize Black and White Study for Hildegard of Bingham View fullsize Hildegard of Bingham (Right Panel of Willendorf Triptych) View fullsize Neuralchemist Variation Study View fullsize Neuralchemist Variation View fullsize Neuralchemist Variation View fullsize Neuralchemist Variation Study View fullsize Neuralchemist Variation Study View fullsize Black and White Neuralchemist Study View fullsize Color Neuralchemist Study View fullsize Neuralchemist Study View fullsize Black and White Neuralchemist View fullsize Neuralchemist Variation View fullsize Neuralchemist Variation View fullsize Drawing of Chipboard Neuralchemist Relief View fullsize Drawing of Angular Perspective of Neuralchemist Relief Outline View fullsize The David Bohm Quintet View fullsize Hypercube 1 View fullsize Hypercube 2 View fullsize Hypercube 3 View fullsize Hypercube 4 View fullsize Hypercube 5 View fullsize Hypercube 6 View fullsize Hypercube 7 View fullsize Hypercube 8 View fullsize Hypercube 9 View fullsize Hypercube 10 View fullsize Neuralchemist Study View fullsize Neuralchemist Study View fullsize Neuralchemist Study View fullsize Neuralchemist Study View fullsize Neuralchemist Study View fullsize Neuralchemist Study View fullsize Neuralchemist Study View fullsize Neuralchemist Studies View fullsize Black and White Study for Cleopatra View fullsize Color Study for Cleopatra View fullsize Neuralchemist Study View fullsize Neuralchemist View fullsize Neuralchemist Study View fullsize Neuralchemist View fullsize Black and White Neuralchemist View fullsize Rectangular/Slice Study View fullsize Rectangular/Slice Study View fullsize Rectangular/Slice View fullsize Neuralchemist Study View fullsize Neuralchemist Study View fullsize Winter's Tale Studies View fullsize Winter's Tale Alternate Left Panel View fullsize Winter's Tale Alternate Right Panel View fullsize Winter's Tale Diptych (Left Panel) View fullsize Winter's Tale Diptych (Right Panel) View fullsize Winter's Tale Quintych View fullsize Black and White Neuralchemist Study Variation View fullsize Black and White Neuralchemist Study Variation View fullsize Neuralchemist Study Variation View fullsize Neuralchemist Study Variation View fullsize Neuralchemist Study Variation View fullsize Neuralchemist Study Variation View fullsize Neuralchemist Study Variation View fullsize Neuralchemist Study Variation View fullsize Neuralchemist Study Variation View fullsize Neuralchemist Study Variation View fullsize Neuralchemist Study Variation View fullsize Neuralchemist Study Variation View fullsize Neuralchemist Study Variation View fullsize Neuralchemist Study Variation View fullsize Neuralchemist Study Variation View fullsize Neuralchemist Study Variation View fullsize Neuralchemist Study Variation View fullsize Neuralchemist Study Variation View fullsize Neuralchemist Study Variation View fullsize Neuralchemist Study Variation View fullsize Neuralchemist Study Variation View fullsize Neuralchemist Study Variation View fullsize Neuralchemist Study Variation View fullsize Neuralchemist Study Variation View fullsize Neuralchemist Study Variation View fullsize Neuralchemist Study Variation View fullsize Experimental Neuralchemist Diversion Study View fullsize Experimental Neuralchemist Diversion Study View fullsize Experimental Neuralchemist Diversion Study View fullsize Experimental Neuralchemist Diversion Study View fullsize Experimental Neuralchemist Diversion Study View fullsize Experimental Neuralchemist Diversion Study View fullsize Working Drawing for Primary Colors Triptych View fullsize Primary Colors Triptych View fullsize Sextus Empiricus Drawings - Red Suite View fullsize Sextus Empiricus Drawings - Blue Suite View fullsize Black and White Sextus Empiricus Study View fullsize Black and White Sextus Empiricus Study View fullsize Black and White Sextus Empiricus Study View fullsize Sextus Empiricus View fullsize Sextus Empiricus View fullsize Sextus Empiricus View fullsize Sextus Empiricus View fullsize Sextus Empiricus View fullsize Sextus Empiricus View fullsize Sextus Empiricus View fullsize Sextus Empiricus View fullsize Sextus Empiricus View fullsize Sextus Empiricus View fullsize Sextus Empiricus Variation Study View fullsize Sextus Empiricus Variation Study View fullsize Sextus Empiricus Variation Study View fullsize Sextus Empiricus Variation Study View fullsize Sextus Empiricus Variation View fullsize Outline Drawings of Transverberation Studies View fullsize Transverberation Drawings View fullsize Transverberation View fullsize Black and White Outline Studies View fullsize Working Drawing for Jesus and the Seven Peckers View fullsize Jesus and the Seven Peckers < Back to Artwork